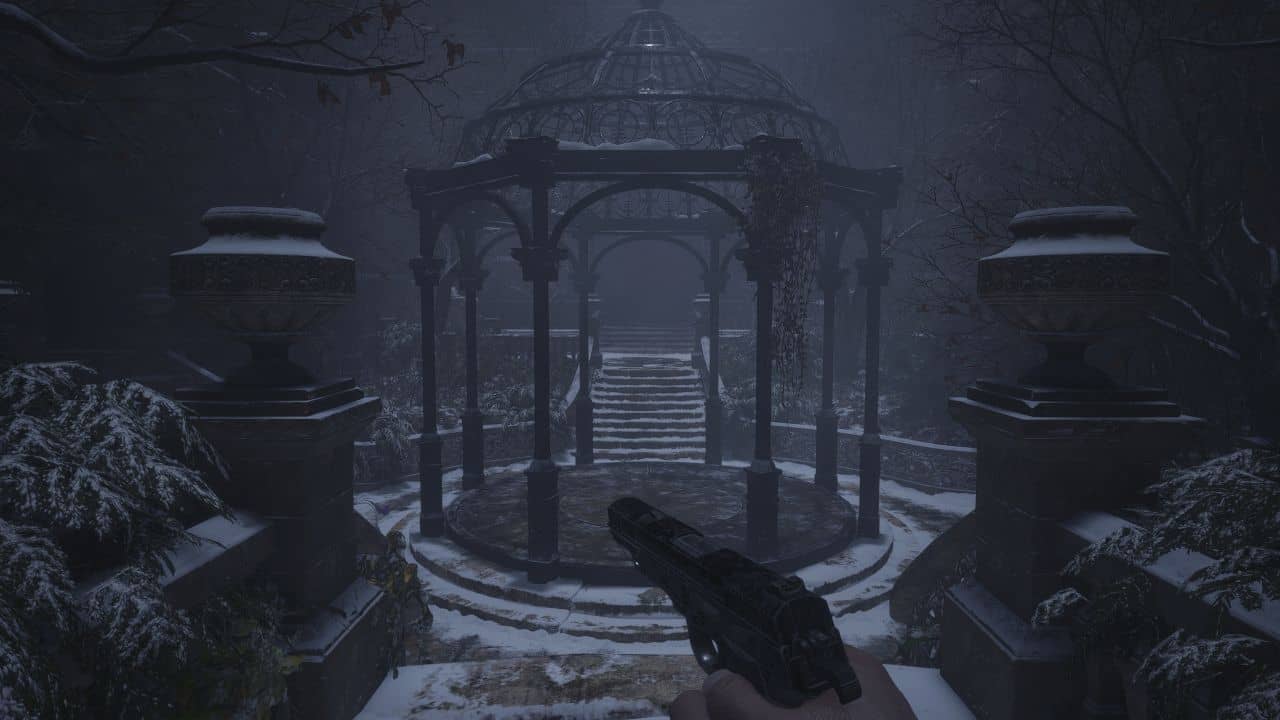
Resident Evil Village- Graphics Settings Comparison
In today's our graphical review, the game loved by many gamers Resident evil village.
Let's go directly to testing.
Image quality. This graphics setting is also known to everyone under the name "Render Resolution". At this point, a choice of settings from 0,5 to 2 is available. Screenshots were taken in intermediate settings. The images clearly show the effect of this item on the quality of the picture.
FidelityFX CAS. It has 2 settings: "Off" and "On". AMD's Contrast Adaptive Sharpening technology helps improve image quality by eliminating the loss of detail caused by Temporal Anti-Aliasing (TAA) technology. At 1280x720 resolution, the difference is barely noticeable.
Smoothing. We have 2 technologies available to choose from: “FXAA + TAA” and “TAA”. Let's consider how these parameters affect the graphics. TAA produces a clearer picture, while FXAA + TAA is slightly faster and is suitable for weaker PCs. It's hard to tell the difference when comparing screenshots.
dynamic shaders. It has 3 settings: "Off", "Performance" and "Balance". There are minimal differences.
Texture quality. Choose the settings for this parameter based on the amount of memory on your video card. The choice is available from 0 to 8 GB. Screenshots taken in 2 locations. The first location was chosen on the advice of the developers themselves, there are no global changes, “distorted” tree branches are striking. At the second location, the difference was not noticed.
Further - Texture Filtering Quality. You can choose from: "Trilinear", "2x", "4x", "8x" and "16x". The difference is noticeable when switching from "Trilinear" to "2x", improves the clarity of surfaces at an angle to the player's view. There are no changes on the other parameters.
Mesh quality. It has 4 settings: "Low", "Medium", "High" and "Maximum". The parameter is responsible for detailing distant objects. Trees undergo a global change, this is clearly seen when moving from "Maximum" to "High" and from "High" to "Low".
Ray tracing. It has 2 settings: "Off" and "On". The tracing was actively promoted on the network, but nothing phenomenal was noticed. In some places, the technology looks realistic, somewhere it behaves strangely. Let's wait for patches. How do you like the implementation of ray tracing in the game?
Reflection of light. It has 3 settings: "Low", "Medium" and "High". Compare "Medium" and "High", shadows disappear from the table. When switching to "Low", the reflections on the table become less realistic.
diffuse shading. It has 2 settings: "Off" and "On". The familiar Ambient Occlusion is used, which adds realism to the picture due to additional shadows. You can see the changes in the screenshots.
Reflections in screen space. It has 2 settings: "Off" and "On". There are no reflective surfaces in the game like mirrors and any puddles, so let's study the changes in this parameter using the example of Lady Dimitrescu's bloody basement. With the "Off" option, the reflections will become more matte.
Volumetric lighting quality. Has 4 settings: "Off", "Low", "Medium", "High". “Medium” quality is indistinguishable from “High” quality. When switching to "Low", overexposure is visible on the window.
Mesh quality. It has 4 settings: "Low", "Medium", "High" and "Maximum". The parameter is responsible for detailing distant objects. Trees undergo a global change, this is clearly seen when moving from "Maximum" to "High" and from "High" to "Low".
subsurface scattering. 2 options: "Off" and "On". Skin looks more natural during close-ups.
Shadow quality. It has 4 settings: "s", "Medium", "High" and "Maximum". Compare "High" and "Maximum", the shadows become clearer, transparency increases. When switching to "Medium", the difference was not noticeable. The difference between "Low" and "Medium" is clearly visible, the shadows are blurred, less detailed.
Contact shadows. 2 options: "Off" and "On". Adds additional darkening at the joints and in the recesses. With the "On" setting, the game looks more realistic.
Let's move on to graphic post effects that allow you to give the picture a "cine" look.
Glow. 2 options: "Off" and "On". Adds an atmospheric glow.
Glare. 2 options: "Off" and "On". The developers didn't overdo it. Glare in the game helps immersion and gives a "cinema".
Grain. 2 options: "Off" and "On". Grain in games mimics the effect of old film and makes them more cinematic. And somewhere it really looks stylish.
Depth of field. 2 options: "Off" and "On". Depth of field tries to mimic human eyes. In games, the effect is used to focus the camera on an object, be it a character or an important object.
lens distortion. 2 options: Off, On, and On + Chromatic Aberration. Slightly warps the image for a more cinematic look. Adjust to your taste.
So let's summarize. Resident evil village filled with tiny details, such as the smoke coming out of a gun barrel after being fired, or the way light bounces off the slimy walls of a cave.
The sound design also helps to enhance the overall experience, whether it be the anxious guttural screeches of the Lycans or the clatter of Lady Dimitrescu's heels as she walks through the halls of her castle.
Capcom has managed to create a game that feels both familiar and fresh at the same time. This is not a major overhaul, but a refinement of the entire series as a whole. Resident evil village is a great innovation that will warm the heart of fans of the franchise.


